My Observatory Page
First let me say that I am not a carpenter. I'm not pretending to be showing you the best way to build an observatory or even a correct way to do so. I am simply showing how I did it.
I am going to document the building of my new observatory. I am sure that many people reading this will think I went a bit overboard on materials, especially with the floor assembly. I also am doing a few things not normally done in observatories. I'm going to use some insulation in the walls and roof. I don't expect to maintain a steady temperature, but only want to try to prevent extremes in temperature, especially in the heat of the summer.
For the pier I am using the post that once held my 10 ft satellite dish. It has a 3" diameter pipe filled with concrete. I stripped away most of the mount, keeping only the part that allows adjustment in elevation. I had a local shop weld a 12" x 12" x 1/2" steel plate to it. The plate has four 3/4" holes in it. It mates to another plate with additional holes to hold my telescope. Hopefully this will all work and be sturdy enough to minimize vibrations.
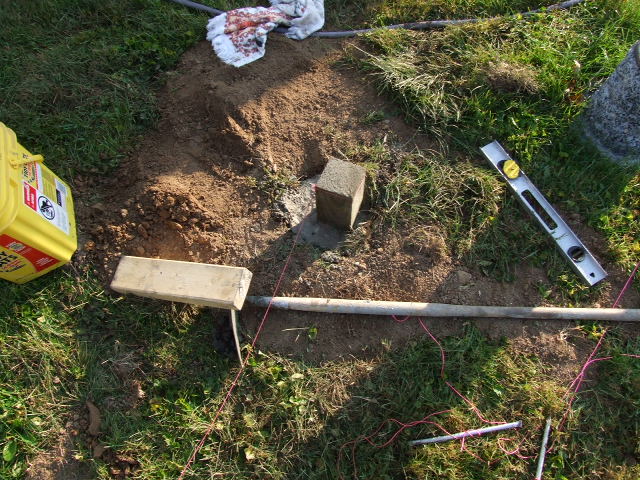
I originally planned to pour a cement slab, but that seemed like overkill even to me. I decided to bury 4" x 4" posts in cement and use these for a foundation. It worked with my old observatory.
I rented a gas powered post hole digger with an 8" auger. I had it all laid out with string, but once I started digging the holes that all kind of went out the window. I only had time to dig the four corner holes and one of them was off by about a foot. I came up with Plan B. I figured out which post would be at the highest point in the yard (the only thing the laser level I bought was good for in the end) and planted my first post there. Since the observatory is going to be 10' x 10' I got a 10 foot long 2 x 6 and temporarily nailed one end to the post. I then used boards to prop up the other end until it was level. I used this to decide exactly where to place the second post. I dug the holes 2 feet deep and cut the posts short enough that there was close to a foot of concrete under the posts. This also allowed me to adjust the post up and down as needed. After I finished this I saw some metal brackets at Lowes that fit right over the 4 x 4 posts and allows you to easily attach the joists.
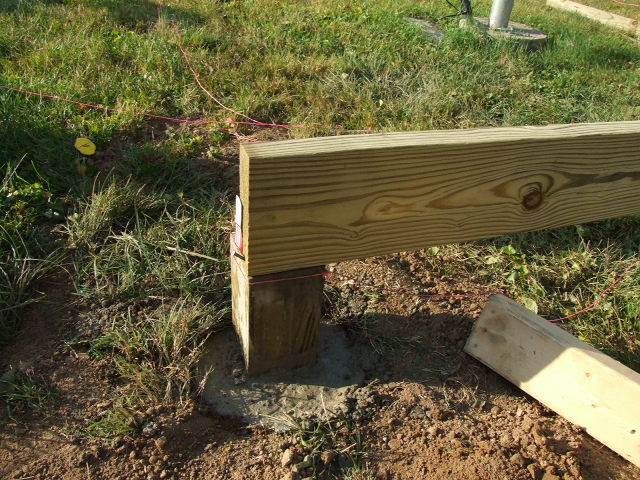

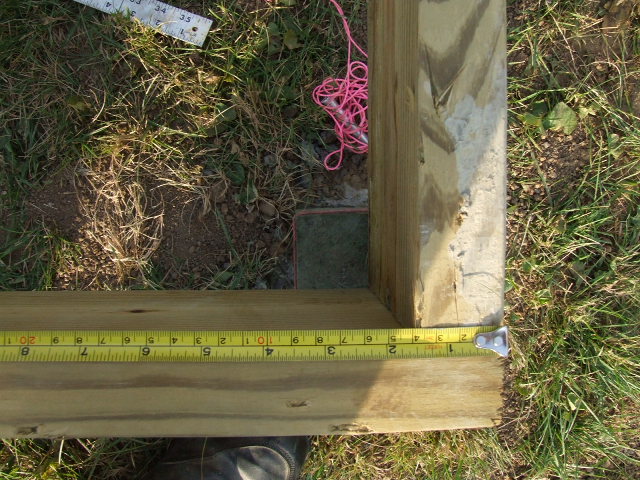
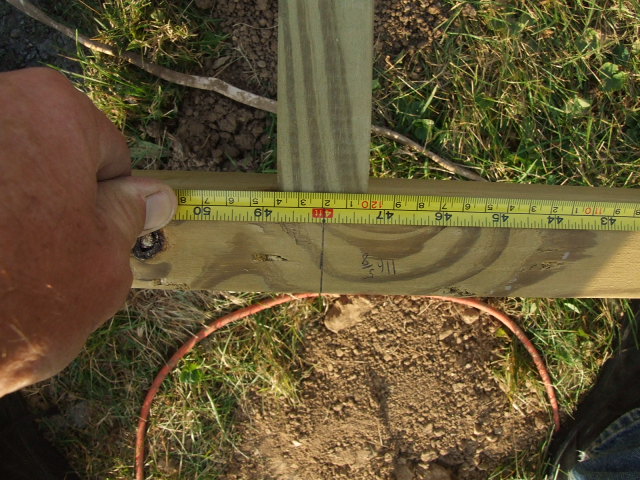
Once the concrete dried in both holes, I temporarily nailed the 2 x 6 to the second post, too. This allowed me to repeat the process using a square to make sure everything was square when placing the third post. I made sure to arrange the boards on top of the posts so I used the entire 10 foot length to set the position of the next post. In the end the south side was 1/2" too narrow, which I felt was good enough.
After I got the four corner posts in, I dug holes in between so I could put posts in the middle of each wall. I mixed the concrete with extra water - this made it easier to move the post into the right position and the post "floated": a bit, making it easier to get it up into contact with the edge boards.
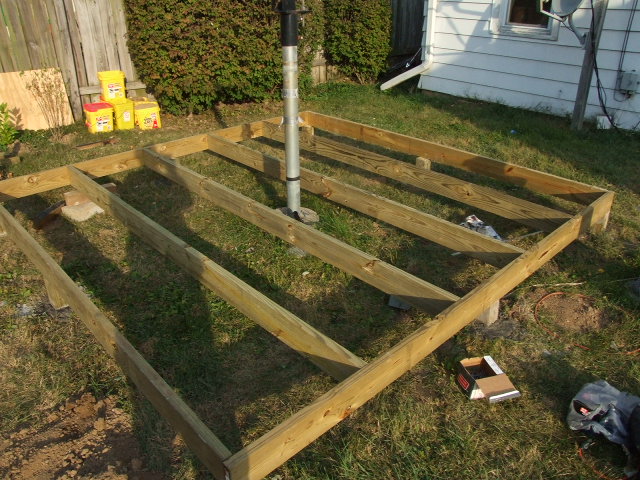
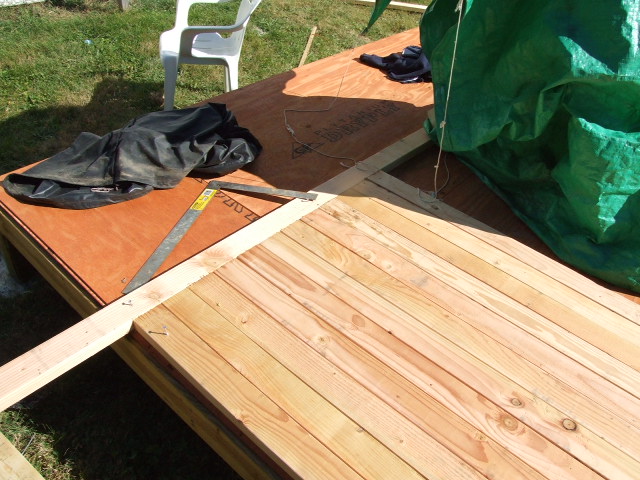
The 3/4" plywood I bought is specially made for flooring. It is rated for 24" spacing for the joists. This meant I didn't have to add cross braces between the joists. The edges are tongue and groove, too. Nice stuff. After all of the concrete dried, I nailed the four edge boards into place. I measured from one end, the outer edge of the frame and marked 2, 4, 6 and 8 feet. These marks represented the center of each floor joist. This way the plywood would reach to the edges and the seams between sheets fell in the middle of a floor joist. WARNING - I found out too late that tongue and groove plywood doesn't come out to 4 feet wide - the edge of the "tongue" to the other edge is 4 feet, but you lose about 1/2" when it is fitted into the "groove". Same for the paneling I used, but the loss isn't as great.
Here is the floor frame, awaiting the plywood.
Just to be safe I added braces at the "top" of the plywood where I needed to run a 2' x 8' piece of plywood.
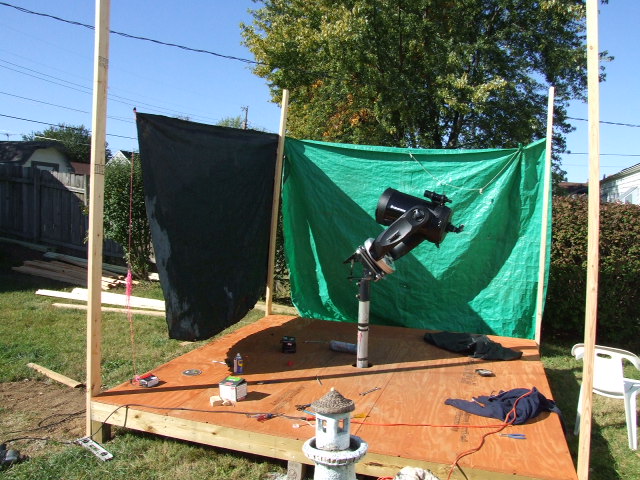
The floor is all done. Now I'm going to mount the telescope on the mount and find the best height for the telescope above the floor. The only concern is a comfortable height for viewing. I sat in a chair and got comfortable and leaned forward like I was looking through a telescope.. Then I measured how high my eyes were from the floor. Then I measured how high the eyepiece was from the floor. That told me how much I needed to lower the scope.
I have the telescope where I want it. Now I need to determine how high it has to be to for the roof to clear it when I roll the roof open and closed. I will check how much of the sky will be blocked by the walls, too but I don't think that will be much of a problem.. My view of the horizon is pretty compromised any way. My house is to the north, there are two large trees to the west and my garage and a large tree across the alley are south of my observatory. I nailed 2 x 4 x 10s in each corner and ran tarps between them at the projected height. I found that 7 foot high walls were no problem at all. I needed the walls to be this high for the door to fit any way
 .
.
Now to start building the walls. I made a form, nailing two 2 x 4s so I could saw all of the studs off at once.
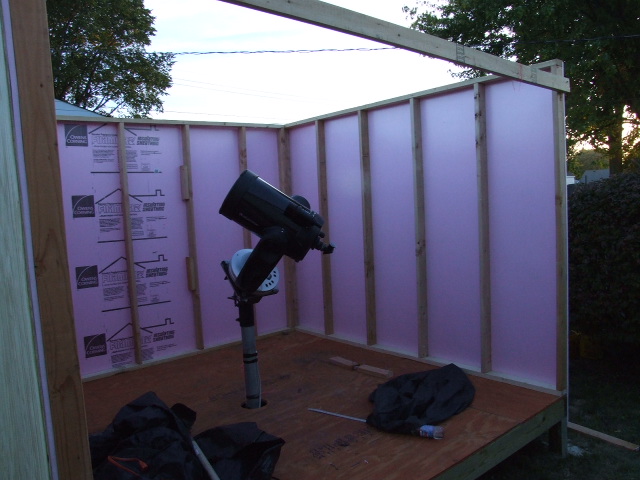
Two sides will be 10 feet wide, the other two will be 112.5 inches wide. I built them on the floor. I added one sheet of insulation and one sheet of paneling to each wall to make it square. I insulated the walls. I know this is a little unusual for observatories. I don't want to maintain a steady temperature, but hope to avoid extremes, especially heat in the summer. I kept the full eight foot height of the insulation panels and paneling, using the excess at the bottom to cover the floor's frame and some of t he space between it and the ground.
Now three walls are up. The walls may be too high, I'll test it out tonight.
The walls ARE too tall. I'm going to lower them 18 inches. I forgot to add the height of the wheels. (4 inches). I can lower the walls a bit more than I thought and still be able to walk around with the roof closed. I'll have to shorten my steel door though, something I didn't want to do. It can't be helped - I wouldn't be able see Polaris with the north wall installed at the full height.
I hate rain. It rained for a couple of days - I put the telescope and all of my tools in my garage, but the so called "exterior" paneling I bought warped, and on one sheet the layers actually separated. I nailed everything down the best that I could before it got dark.I'm anxious to finish the walls (one sheet of paneling) and fit the door so I can get going on the rails and roof.
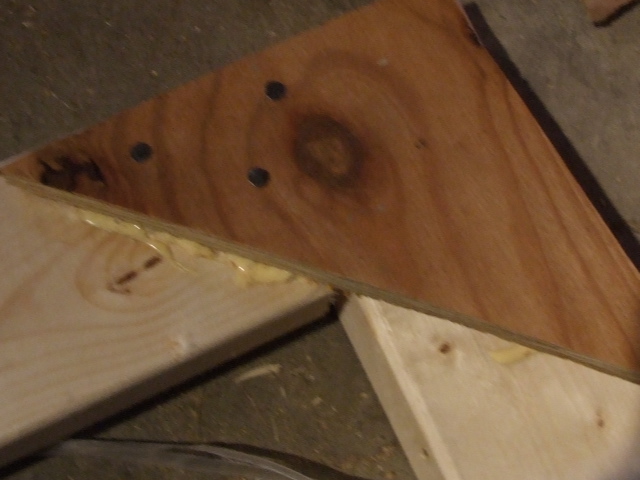
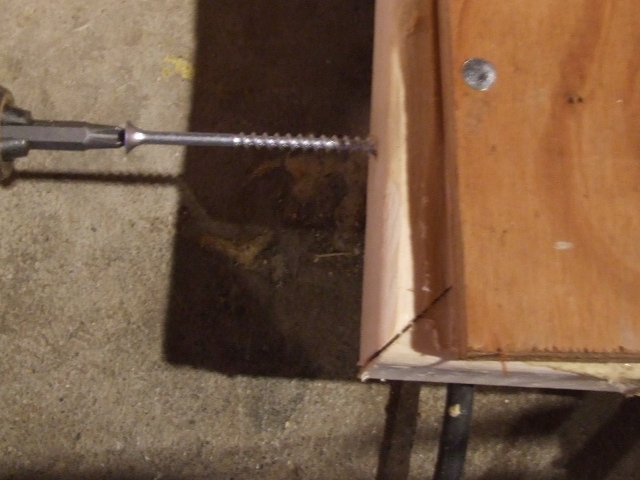
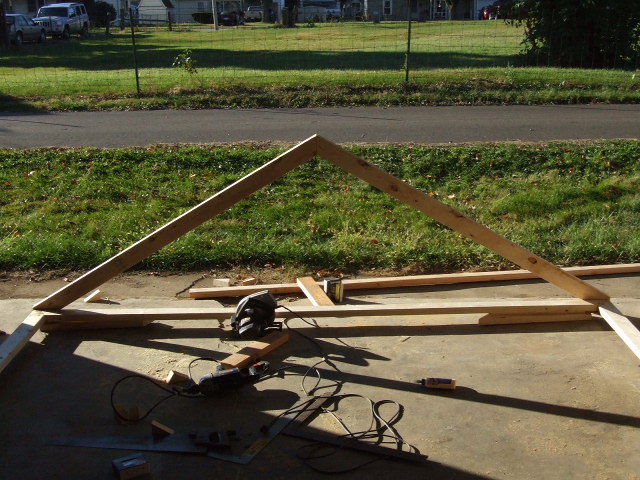
I built the roof frame and trusses today. I cut the frame with 45 degree angles on the corners. I applied carpenters' glue to the ends of the boards and under the pieces of plywood that I used to keep things square. I nailed the plywood to one board, made sure everything was square, the nailed the other board through the plywood. Then I ran deck screws through from the edges to hold it together. I did a similar thing at the top of the trusses.
I couldn't figure out how to mark the bottom of the trusses where they attached to the frame. I finally propped the frame up some, stood a truss up next to it and marked the trusses across the top of the frame. Then I made the other trusses by using the first one as a pattern. I added braces across the trusses, making sure thy would be high enough to allow me to walk around in the observatory when the roof was closed.
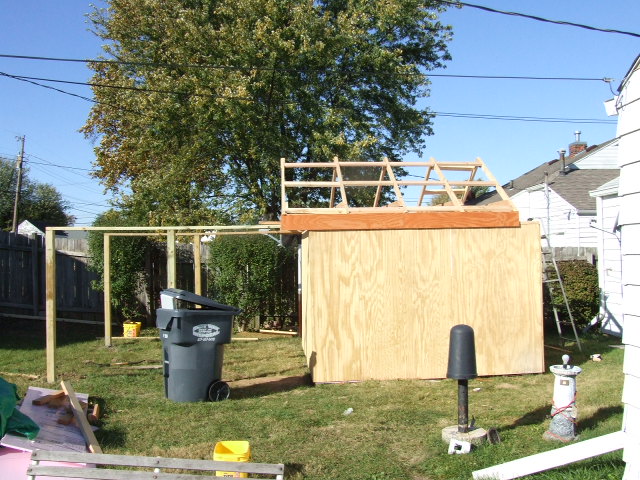
It's finally starting to look like an observatory.
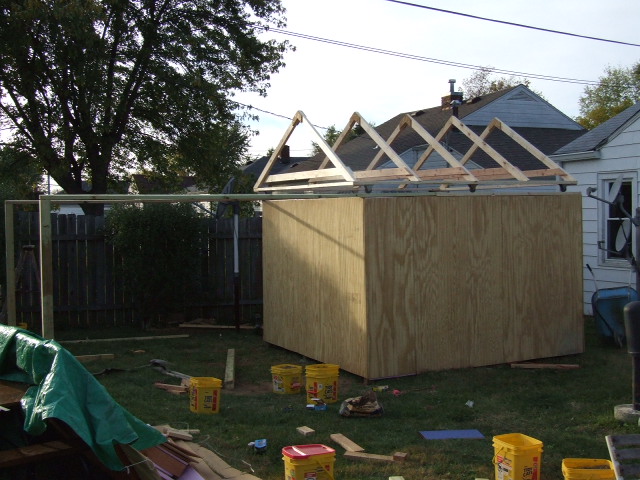
I added the braces after we lifted it up onto the base. This was much harder than it would have been if I had done it while it was still on the ground, but I worried about it becoming too heavy to lift.
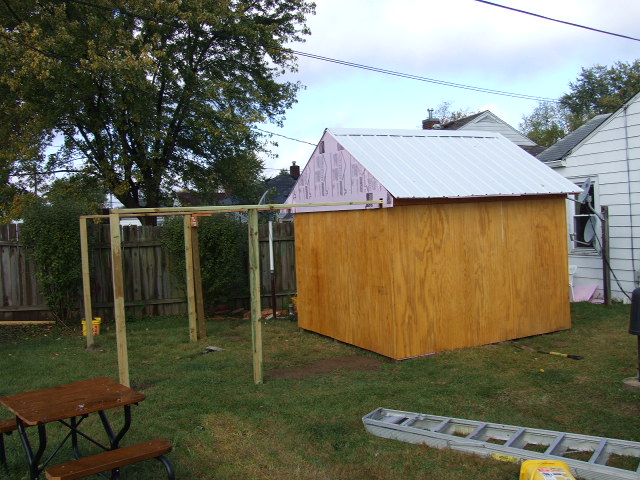
Next came the insulation and metal roof. The roof really was a nightmare - there were parts that were hard to reach and the roof was too steep to climb onto.
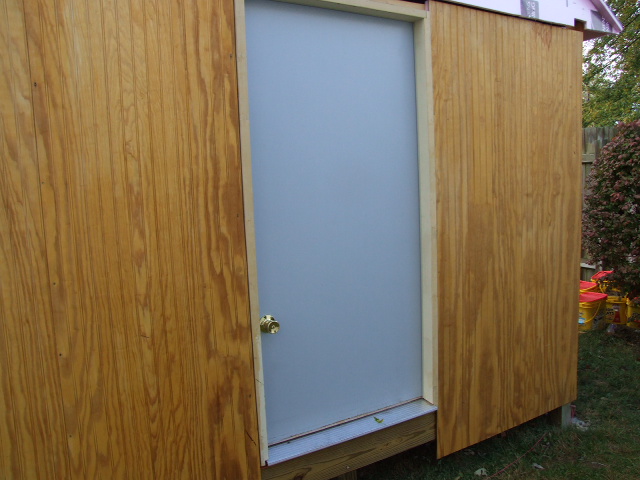
Here is the weird sawed off door
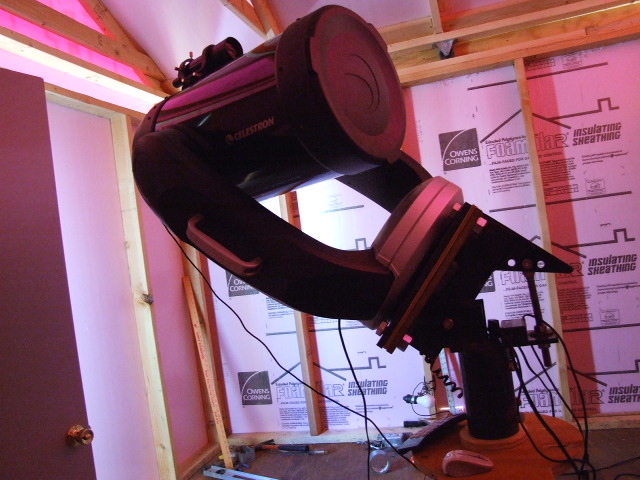
Here is the scope on the mount.
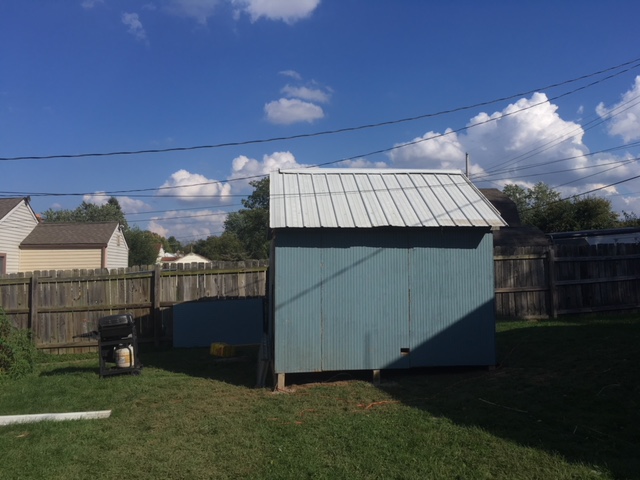
The finished product, open and closed.
I put my computer in an insulated container. I added a "heater". I wired a furnace thermostat to a relay that uses 12v DC to operate it and controls 120 V AC. I installed a light fixture and use a flood lamp for heat. It keeps the computer at 66 degrees. I don't know how the LCD monitor is going to do in really cold weather. Minimum operating temperature for it is 5 degrees F.
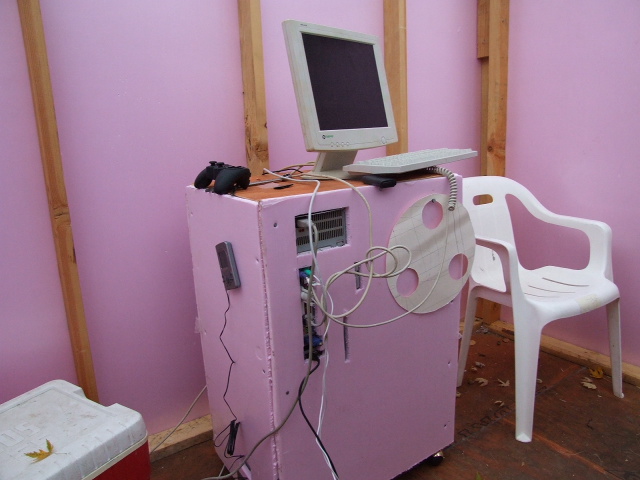
I use Microsoft's Remote Desktop on this computer. It is included in XP Professional and Vista Professional. I can get the telescope set up on the Moon, come inside where it's nice and warm and take photographs from my recliner.
A few closing thoughts:
People a lot smarter than me have told me that the post holding my mount is woefully inadequate. Next spring I'll do something about that.
If your door swings inward, don't put it in the center of a wall. You may have problems with it hitting your telescope.
If you want to sit down while observing, a chair with wheels might be a good idea. I have found that if I rotate the diagonal so that I look into the eyepiece from one side or the other limits how much I have to move around.
Also, I think you need a 10' x 10' observatory if you sit to observe, especially with the scope on an equatorial mount. If you don't observe toward the north much, you could offset the observatory north a bit to give yourself more room.
Moving my observatory
November 30, 2018
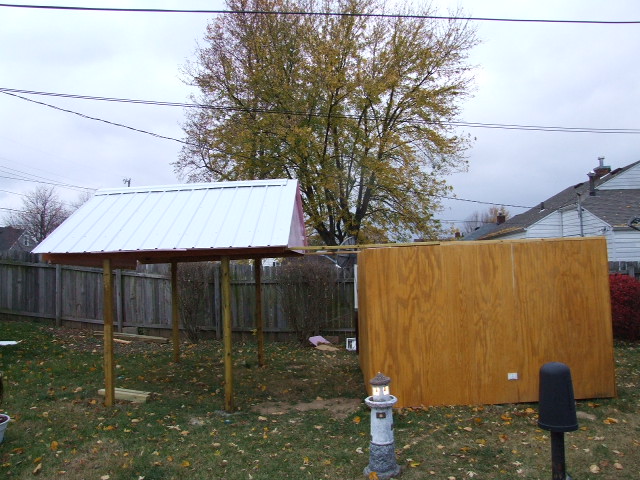
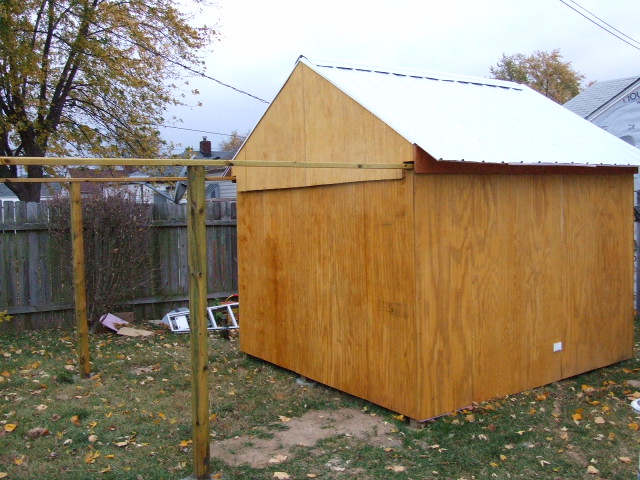
I finally decided to move my observatory to the other side of my yard, to get it away from my neighbor's tree. I also wanted to be able to roll the roof off to the north instead of the south to give me a better view to the south. This would also move it away from my garage, which sat to the south of my observatory and on a slight hill.

I needed to strip as much weight off of it as I could. I removed all of the paneling and the roof panels. As best as I could tell, this removed about 450 lbs of weight, from 1250 lbs to 800 lbs.
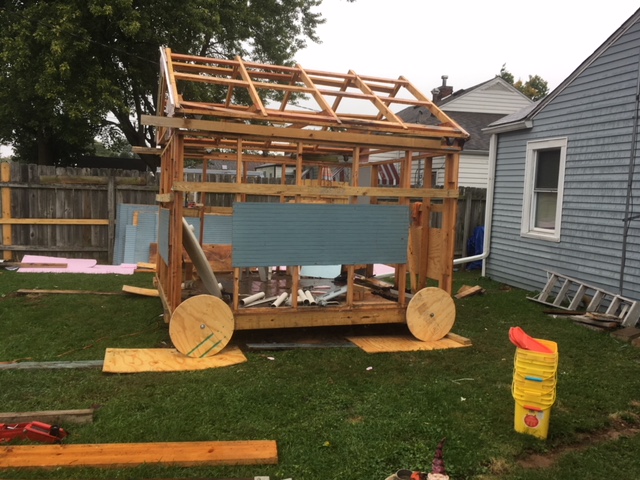
I made 2 foot diameter wheels out of 2 layers of 3/4" plywood. I put the wheels on the east and west sides to roll it south on strips of plywood, then moved the wheels to the north and south walls to move it east. I couldn't steer it, so to make corrections, I jacked it up onto 3 floor jacks sitting on plywood and angled so I could spin the entire building.
To get the roof to roll off to the north. I removed the paneling on the ends of the roof and installed them on the opposite ends. I needed to move my bench to the opposite wall, so I moved the door to the center of the wall and have it opening out instead of in now.
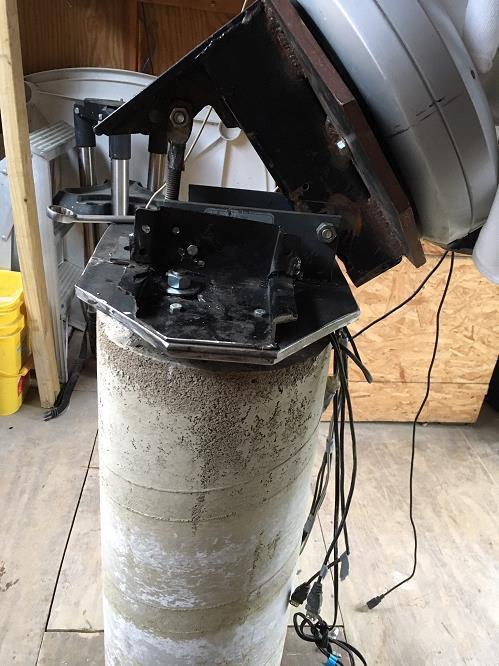
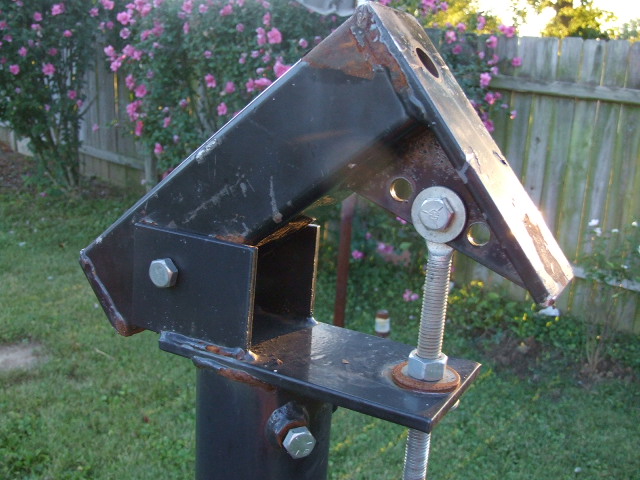
Here is my new pier. It has a 3" pipe driven down into the ground well past the bottom of the hole and concrete was poured around it. The pier itself is 12" in diameter. I used an old satellite dish mount for the actual mount. The bottom half is bolted to two 1/4" thick steel plates. I made a fine adjustment mechanism for azimuth.
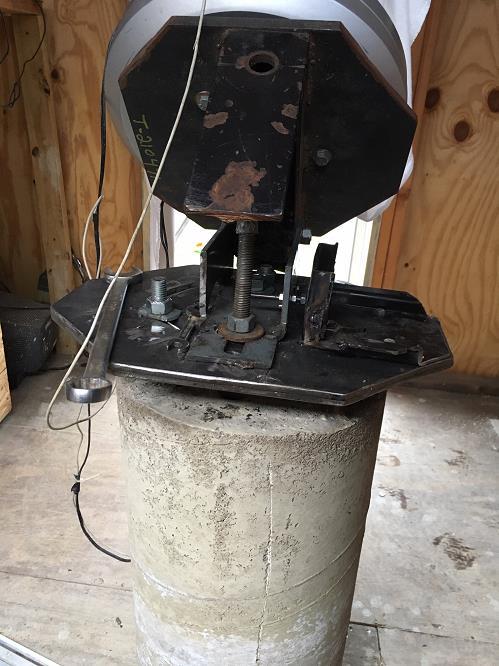
Once I get the mount aligned perfectly, I will remove the adjustment mechanism and weld everything into place. I may even trim the lower parts of the mount down enough to let me extend my concrete cylinder up around it. I don't think there would be a need to do that, however.
I am using the star drift method to finish the alignment.
It is rock solid, MUCH better than my old mount and I can adjust this one much more precisely.
The tree to my west now blocks the sky up to 35 degrees altitude instead of 55 degrees as it was before.
I am really glad I invested the time, labor and money to move it.
I also found a camera with a much larger chip that I am going to install on my finder scope, to widen it's field of view. This will make it easier to find the ISS in my finder scope.