This was an experimental mount that I built to test a theory. It DOES work as
I planned, and I'm putting it up here so that others may be inspired to try
their own version.
Next I got a program that gives a satellite's closest approach. The
I set my mount so the "polar" axis was set at a spot in the sky that
was 90 degrees in altitude from that spot. My theory was that the path of
the satellite would act as the equator allowing me to track the satellite in one
axis..
The mount used a floor jack. The upper end rotated in the lower end.
I installed a degree wheel that gave me the azimuth
The degree wheel is attached to the lower part, a pointer to the upper
portion. I made a degree wheel by gluing two protractors to a piece of
plywood and renumbering the degrees on one side so it would read from 0
to 360.
Then it was simply a matter of pointing the scope at the north
star, set the degree wheel to indicate 0 or 360 degrees azimuth and
used a protractor to set the altitude at 40 degrees - my latitude. Of course, to
be precise these two adjustments must be done 6 hours apart - the azimuth when
Polaris is north or south of the north celestial pole, that altitude when Polaris is
directly east or west of the north celestial pole. I later discovered an easier way to set
things up - point the scope at a planet and use it's azimuth and altitude to
adjust the degree wheel and check the altitude.
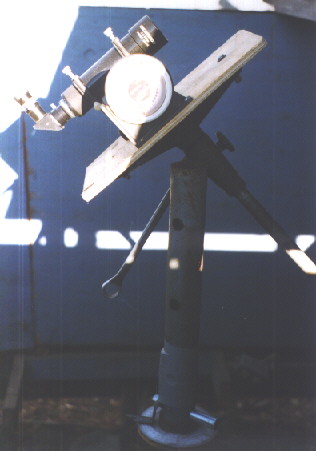
Here is my original mount.
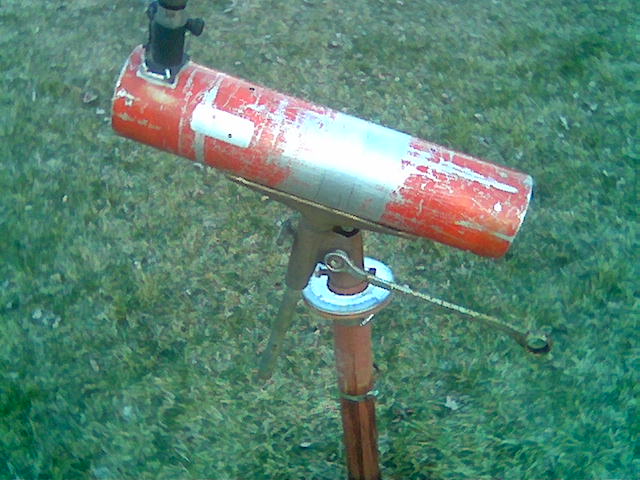
Here is my second setup. I set the protractor on top of the scope to
set altitude.
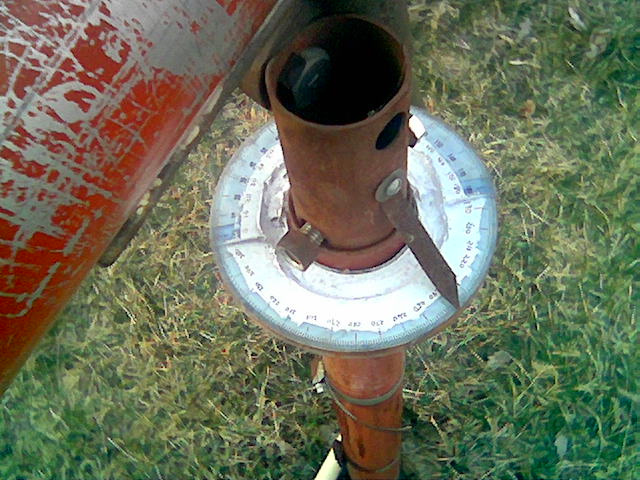
Here is a close-up of the degree wheel.
It worked okay at the low powers I was using, but it was a pretty sloppy setup. The pole wasn't perfectly vertical, there was slop between the inner and outer posts, the mirror wasn't perfectly collimated to the tube and the degree wheel was a butchered up hack job. Other than that it was just fine. <g> I believe there are some other issues because satellites are much closer to the Earth than stars are. I remember that I had to make corrections to the altitude when setting a satellite dish up because of this.
Since I wrote the above I discovered that the idea wasn't new to me.
There was something called the Baker-Nunn camera that used the same concept
to track Earth orbiting satellite.
Here and
here are links to pages that explain them:
Update
I decided to try this mount with my fork mounted Celestron CPC1100. My telescope mount is made from the core of a mount that once held a 10 ft satellite dish. The mount spins on the pole and the altitude can be changed easily. I found a web page that generates degree wheels of any size. I chose one 8" in diameter, because it could be printed out on a normal sheet of paper. I mounted it on a piece of 3/4" plywood and covered it with Plexiglas. I attached this securely to the pole and mounted a pointer on the mount which I can turn to "point it" to any azimuth I choose. I'm using a protractor with a level on it to accurately adjust the altitude. Before I took the mount apart I drilled and tapped two holes through the mount so I can easily realign it later. By returning the mount to this state I can set the azimuth on the degree wheel to zero initially.
This mount has several advantages to my earlier attempts: the pole is perfectly vertical, the mount fits much more tightly on the pole, the degree wheel is much more accurate than my other ones, and by using the fork mount I can make adjustments as the satellite passes overhead. Before I could only try to turn the mount on the pole to make adjustments. I loosen the clutch on the base of my telescope's fork mount to manually track the satellite across the sky. I leave the altitude clutch tight and can make adjustments with my handset.
When I want to use the mount for normal astronomical use, I can return the mount to it's original settings which should be good enough for normal visual use.
Back to Main Page
darwin-t@comcast.net Back to main page